How to Perform a Water Check in Your Home: Step-by-Step Tutorial
Did you know that the average American uses 100 to 175 gallons of water per day? This includes water used for drinking, cooking, washing dishes and clothes, bathing, and watering lawns.
With such a high daily usage, it's important to ensure that the water in your home is of good quality. Performing a water check in your whole home system can give you peace of mind. It can help you identify any potential issues with your water supply.
In this step-by-step tutorial, we will guide you through the process of conducting a basic water quality test at home. Read on to learn how to perform a water quality check.
Step 1: Gather Materials
Before you begin the testing process, make sure you have all the necessary materials. These include:
Test kit
Clean containers
Gloves and safety glasses
Timer
Pen and paper for recording results
Step 2: Collect Samples
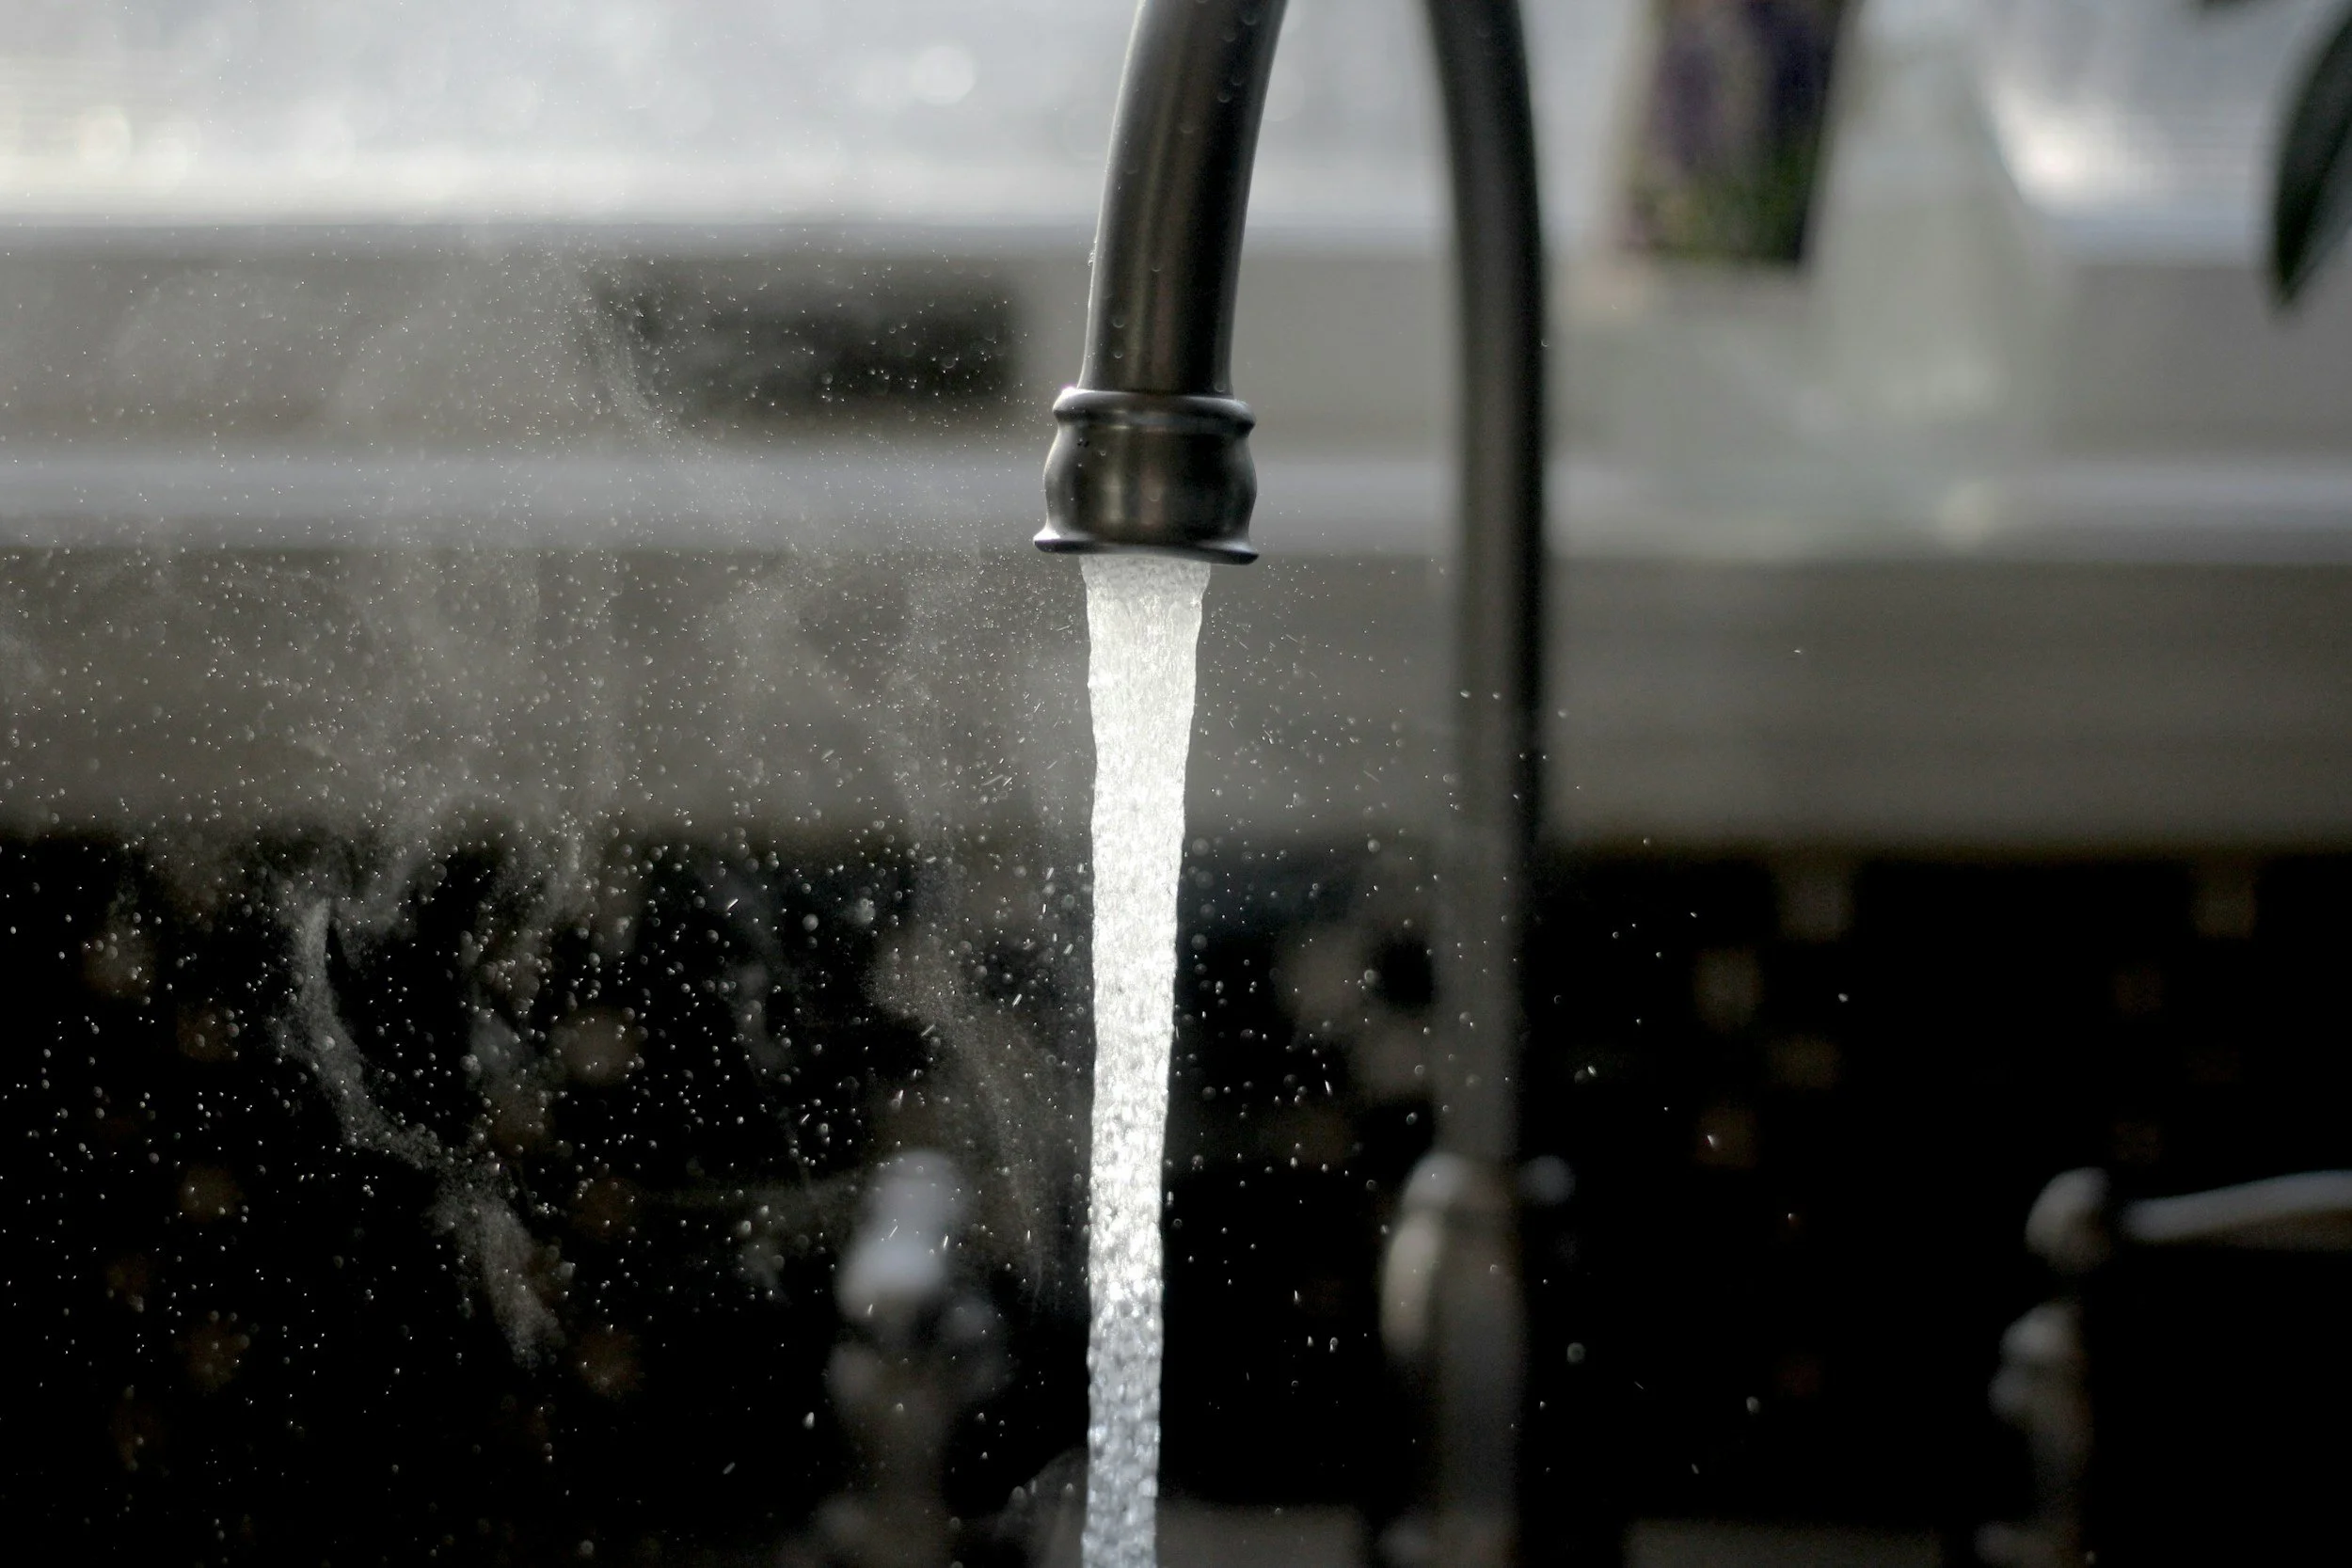
Collect water samples from different sources in your home. This may include taps, faucets, and showerheads. It's important to test water from multiple sources as the quality may differ.
Fill the containers with enough water for testing, leaving about an inch of space at the top. Make sure you use clean containers to avoid contaminating your samples.
Step 3: Conduct Tests
Follow the instructions provided in your test kit to conduct various tests on your water samples. These may include tests for pH levels, chlorine, hardness, and bacteria.
Be sure to wear gloves and safety glasses while handling any chemicals or samples. Follow the recommended wait times for accurate results.
Step 4: Record Results
Use your pen and paper to record the results of each test. This will allow you to compare them later and determine if any issues exist with your water quality.
Make sure to also note the source of each sample, as this can affect the results. It can also help you pinpoint any specific problem areas in your home's water supply.
Step 5: Interpret Results
After conducting all the necessary tests, it's time to interpret the results. Compare your findings with recommended levels for safe drinking water. If any of your results fall outside of these levels, it's important to address the issue.
Step 6: Take Action
If your results indicate potential problems with your water quality, it's important to take action. This may include installing a water filtration system or contacting your local water provider for further testing and assistance.
If you have a water filtration system, consider checking the water filtration services in Spring, TX. They can provide regular maintenance and ensure that your system is functioning properly.
Water Check: Ensuring a Clean and Safe Water Supply
Regularly performing a water check in your home is essential for maintaining a safe and healthy water supply. By following these steps, you can easily conduct a basic test and take necessary actions to address any issues.
Remember, it's better to be safe than sorry when it comes to the quality of your water. So, make sure to include this step in your regular water system maintenance routine.
Are you looking for more articles to help you out? Check out the rest of our blog for more information.
More Home Improvement Articles