The Complete Walkthrough To Achieving Stunning Gel Nail Extensions
Our nails are an extension of our style. From hot hues to pastel shades, to long lengths, and bejeweled designs, there is a style and shape to suit every persona. The trick? Knowing how to nail this trend.
Thankfully, there are many tips and tricks available when it comes to perfecting your nails. The result? Stunning, salon-worthy extensions.
Read on to discover more.

The Popular Choice
The globally increasing market for nail cosmetics reflects the importance of the appearance of nails, with gel nail polish becoming the prevalent choice for many. Especially those who lead active lifestyles or regularly attend a variety of social occasions. Why? Gels boast the best-staying power among the many forms of nail extensions.
In addition, they’re more natural in style and showcase extreme flexibility. Once your extensions are in place, you can carry on living life as you normally would, be this attending a high-intensity workout, running errands, picking up the kids from school, gardening, or traveling.
Another bonus of gels? They’re less damaging to the nails. This is down to the polymerization process, the nail’s density, and ease of removal.
What are Gel Nail Extensions?
As the name suggests, gel nail extensions are a type of nail treatment that adds length to your natural nails. The result? More surface area to add color and embellishment to. Unlike traditional nail extensions, they last longer and boast a more natural appearance.
Read on to discover our step-by-step Nail Extension guide:
1. Prep Your Nails
Nail prep, although often overlooked, can make all the difference to your manicure lasting one week or four. Poorly prepped nails can lead to gel and polish chipping, lifting, or not lasting as long as you desire.
There’s nothing worse than adding fresh gel extensions to your nails only to have to fix or redo them a few days later.
2. Start Fresh
Begin by removing existing nail polish from your nails. If you previously had gels on, this will require a quick trip to the salon. Alternatively, soak your nails in a 100% acetone solution. You can do this at home using cotton wool and tin foil or plastic wrap. Each nail will need to be soaked for ten minutes.
3. Shape and File your Nails
Using your favorite file (either an e-file or traditional file), file down the surface of your nails, focusing on all areas, right up to the cuticles.
4. Buff your Nails
Gently buff the top of each nail. A 100/180 grit nail file is a good tool to invest in as it effectively removes shine. A matte nail boasting a textured surface ensures nail tips, gel, and polish have something to adhere to.
This is a crucial step to consider when applying extensions or tips to your natural nails and can make all the difference between them lasting a few days and a few weeks.
When completing this step, use a gentle motion to avoid damaging your natural nail, and don’t forget to file the edges and corners.
5. Tending to your Cuticles
Using a metal tool, gently push back your cuticles, cutting away any loose ends or snags if required.
It’s likely your nails will be a little dusty at this point, use a makeup brush to rid your hands of this. Alternatively, wash your hands, being sure to avoid soap!
When dry, wipe down each nail using a cotton pad, soaked in 100% acetone. Dehydrating your nails will help to bond the extensions in place.
6. Adding the Gel Extensions
Now it's time to pick the length of the extensions you wish to sport. Consider what length works best for your lifestyle when doing so. For best results, individually match each nail tip to your natural nails. Always opt for longer at first, as extensions can be filed and shaped after application.
Begin buffing the inside of each to create a more textured surface. This will give the nail glue something to adhere to. One point to note? Only buff the part you intend to stick to your natural nail.
7. Secure Your Extensions in Place
Apply a thin layer of bond to the inside of your gel tip and a little to your natural nail. This ensures a stronger hold.
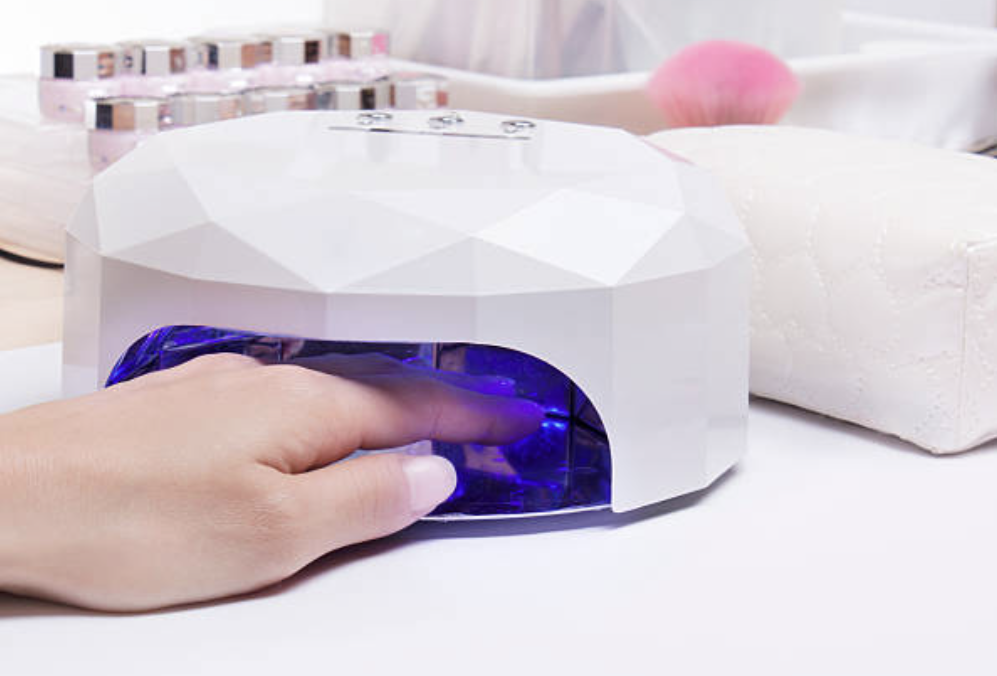
For best results, concentrate on one nail at a time as you’ll need to cure the glue under the small UV lamp for around 20 seconds each time. Most lamps have a gel setting and will turn off or beep when it's time to move on to the next nail.
Once all are in place, you can file to your preferred shape if required. You can choose from several trendy shapes, including stiletto, coffin, almond, and more.
8. Finishing Touches
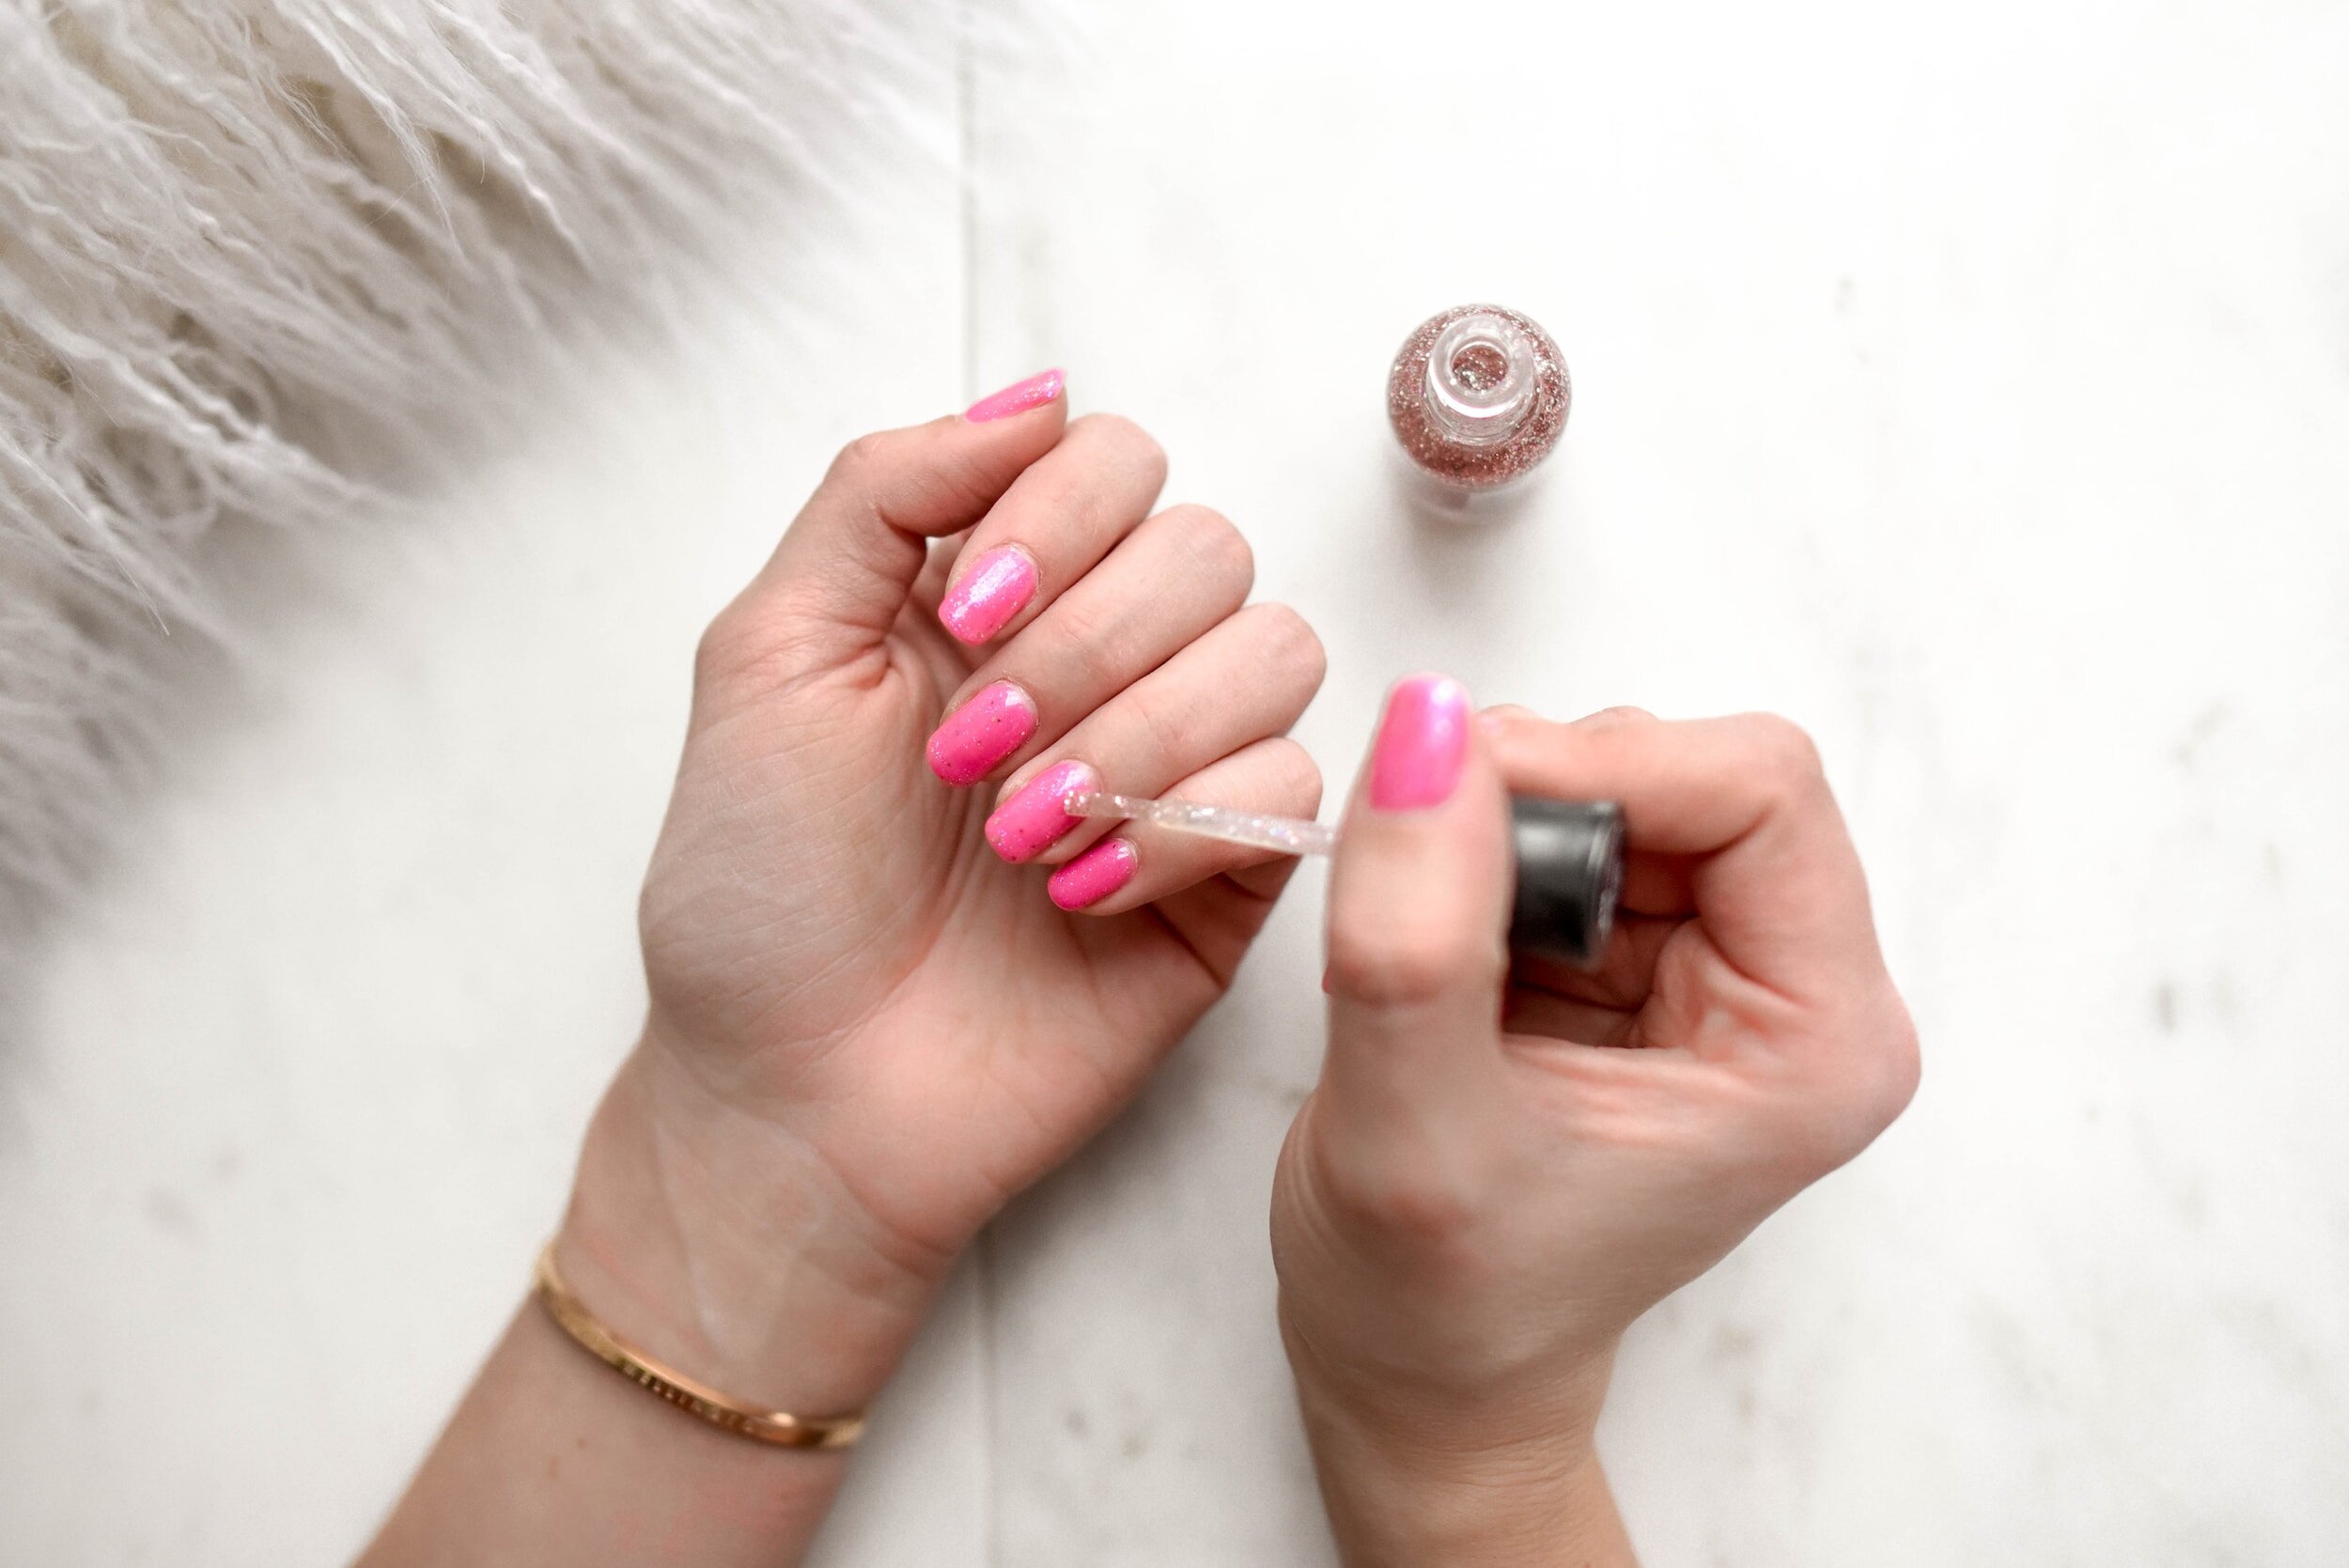
Now that your nail extensions have been applied, trimmed, and shaped, you can add the gel color. Once again, using a file, gently buff your nail tips, pick your hue, and begin your nail polish application.
This involves applying a base coat. You will then need to cure this using the UV light, followed by a color coat, again, curing with the UV light, and, finally, a top coat plus cure.
Conclusion
Self-care contributes to your mood and overall mental health. When you look good, you feel good!
Gel nail extensions are a great way to ensure long-lasting manicures, on both hands and feet. Whether traditional French, a simple pastel hue, or a bright, vibrant shade - there are numerous styles, sizes, shapes, and designs available. You can even embellish them with diamantés and jewels.
Provided you follow the above steps, your nails will look great and, when correctly applied, can last up to four weeks.